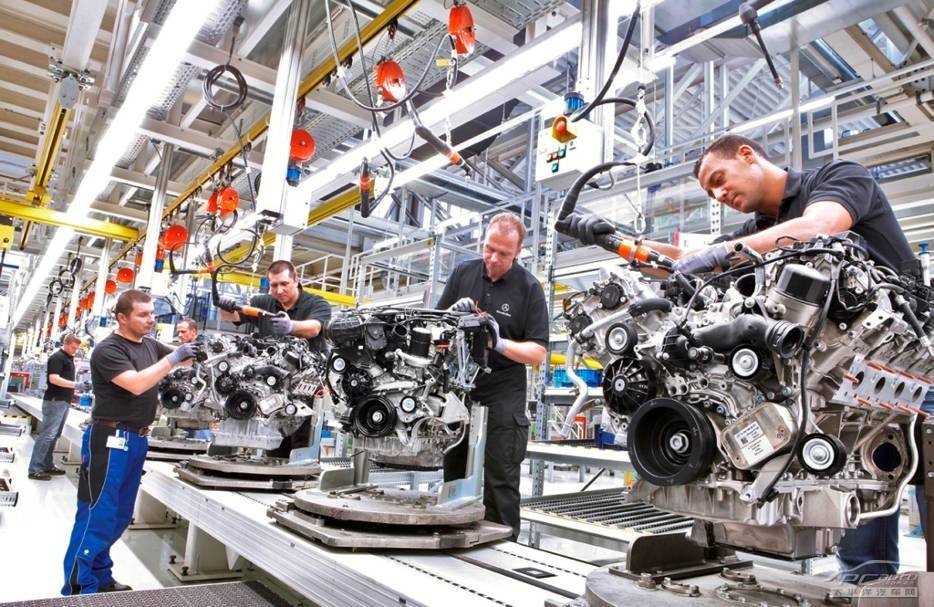
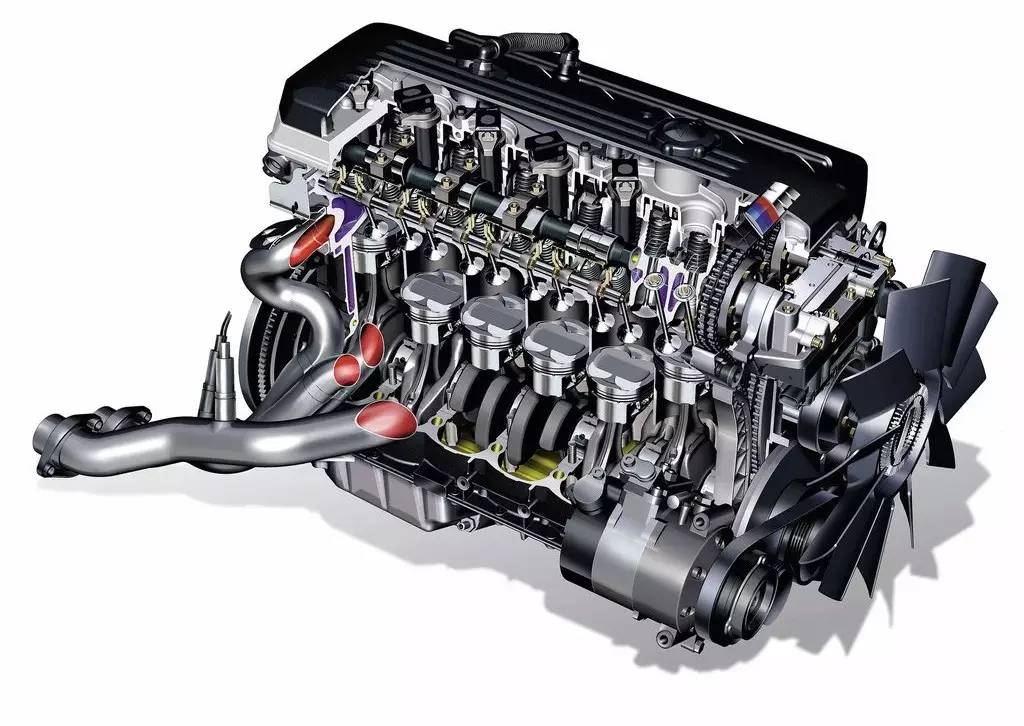
The implementation of co-line production of different engine products is the future development trend of the car manufacturing industry. In engine manufacturing, error-proofing technology has a very important meaning. If there is no application of error-proofing control technology, the product manufacturing process will lead to lower product qualification rates and higher manufacturing costs. However, the application of error-proofing technology should be determined according to the actual production situation. If it is used improperly, it may conceal defects in processing and cause greater waste.
At present, in the machining line and assembly line of engines, the error-proofing form that combines equipment error-proofing and manual error-proofing is widely used. It has both simple and practical error-proofing methods and high-tech control with high technical content. Error-proofing is used in the process of model identification, assembly verification, size detection, leak testing, conveying process, workpiece positioning, and part storage in the engine manufacturing process, so as to avoid numerous failure modes and ensure the manufacturing quality of the engine.

1. Technical application of error prevention device on equipment
In the manufacturing process of auto parts, the application of error-proofing device technology on equipment mainly includes the following categories:
(1) Qualitative error prevention
Error prevention is accomplished through image recognition technology, photoelectric, limit, and logic control technology of proximity switches, such as:
Instant photo comparison: distinguish whether the direction of the assembled parts is correct;
Sensor sensing detection: automatic machining line changes according to the shape of different product models, and the sensor feeds back the sensed information to the subsequent processing procedures, so that the subsequent procedures call the corresponding processing procedures and implement the corresponding processing content;
Processing hole detection: in the machining station after drilling or tapping in the machining line, the broken tool detection and chip washing of the processing hole;
Hard backing: look for the front and back flow direction of the workpiece, such as the feed port of the cylinder processing automatic line, use the difference in the width of the front and rear ends of the cylinder to set the hard backing to ensure that the front end of the cylinder flows into the machining line.
Hard probe: detect different types of parts, implement different assembly or processing techniques, such as probe the shape of the part, implement different assembly, such as hard probe to detect cylinder holes, distinguish 3.0L or 3.4L cylinder;
Guide stop: distinguish the conveying guide of parts;
Grating error prevention: through the detection and control of the grating, whether the workpiece is placed in place;
Fixture error prevention: Control whether the assembly parts are placed on the fixture to prevent errors.
(2) Quantitative error prevention
The purpose of error prevention is achieved by measuring probe induction or gas-electric conversion measurement technology (gas flow is converted into electricity), such as:
Ruby probe detection data feedback: use the ruby probe to detect the inner diameter of the press-fitted valve seat ring to distinguish whether the part is the cylinder head of a 3.0L or 3.1L auto part;
BTS tool length detection: CNC machining center tool detection can prevent tools of the wrong length from being installed in the tool magazine, prevent tool breakage during processing, and reduce the appearance of first parts or waste during processing;
Positioning surface air hole pressure detection: error prevention measures to confirm that the workpiece is in place;
Leakage test: online test of auto parts such as cylinder head, oil passage of cylinder block and water passage, etc., to control the flow of leaking parts into the next process;
Diameter measurement of the on-line inspection tool: This is widely used in the machining position after boring and reaming in the automatic machining line, and achieves 100% control of the appearance of unqualified products;
Torque control: The tightening degree of auto parts, such as many bolts, is controlled by a torque gun.
(3) Error-proofing of tremor function
Through the vibration of the vibrating motor, the parts are continuously vibrated and transported to the place to determine whether the direction of the parts is correct or not. Only when the parts are in the correct position and direction, can they enter the feeding track; the parts with the wrong position and direction will fall into the parts vibrating material In order to prevent the wrong feeding direction of the parts and avoid the scrapping of the workpiece, such as: the direction verification of the cylinder camshaft bushing to prevent the bushing from being reversed; the press-fitting direction of the cylinder water channel plugging is prevented.

2. Material error prevention
Error-proofing of the workpiece holding device: the finished products are filled with error-proofing technology, and they are oriented and placed to prevent the workpiece from colliding with each other and ensure the surface quality of the processed parts;
Color code error prevention: the storage rack of the parts in the assembly area, using color code error prevention.
Three, manual error prevention
(1) Establish standard operation SOS: For example, off-line parts such as finished products, to-be-products, to-be-processed, material waste, industrial waste, etc. during processing must be immediately put on identification labels of different colors in accordance with the processing specifications of various parts Figure 9), the tool is set for normal use durability, and the error prevention device establishes TPM, PM maintenance system, etc.;
(2) Tool installation error prevention: The operator adjusts the tool in accordance with the tool change specification, such as checking the tool number and length comparison of the length of the tool, to prevent the occurrence of unqualified parts caused by the error in the tool adjustment;
(3) Workpiece visual inspection and measurement error prevention: The operator visually inspects and measures the defects in the workpiece processing and the blank itself according to the inspection frequency, rejects the unqualified workpieces, and takes them offline at this station.
 中文
中文 English


 QQ Customer service 1